postgresql local 환경 설정
----
https://reinvestment.tistory.com/66 세팅설명
https://devblog.lazyig.com/36/ : 권한설명
----
npm init -y
npm i sequelize pg sequelize-cli postgres
패키지 설치 후
sequelize init
{
  "development": {
    "username": "jihoon",
    "password": "jihoon",
    "database": "instagram",
    "host": "127.0.0.1",
    "dialect": "postgres"
  },
  "test": {
    "username": "root",
    "password": null,
    "database": "database_test",
    "host": "127.0.0.1",
    "dialect": "postgres"
  },
  "production": {
    "username": "root",
    "password": null,
    "database": "database_production",
    "host": "127.0.0.1",
    "dialect": "postgres"
  }
}
test, production 환경 설정 안하면 기본설정은 맨 위에 있는 development 환경으로 설정됨
데이터베이스 이름은 instagram으로 대충 지음
const models = require("./models/index")

models.sequelize.sync().then(()=>{
    console.log('db 연결')
}).catch(err => {
    console.log('연결 실패')
    console.log(err)
})
root 디렉토리에서 app.js 파일 생성 후 서버 연결 테스트하기 위해 간략한 코드 작성
"scripts": {
    "test": "echo \"Error: no test specified\" && exit 1",
    "start": "node app.js"
  },
실행하기 위한 pacgage.json 작성
$ brew install postgres
$ brew services start postgresql
$ psql postgres
postgres=# create role jihoon login password 'jihoon';
CREATE ROLE
postgres=# create database instagram;
CREATE DATABASE
위처럼 따라하면 계정, 데이터베이스를 생성한다.
그리고 Pgadmin을 설치한다.
intel mac은 x86 이고 m1 이상은 arm64 설치하면 된다.


위처럼 설정하면 된다.
첫 그림은 pgadmin에서 name은 본인이 데이터베이스들을 구별하기 위한 별칭 적는거라 마음대로 적어도 된다.
npm run start
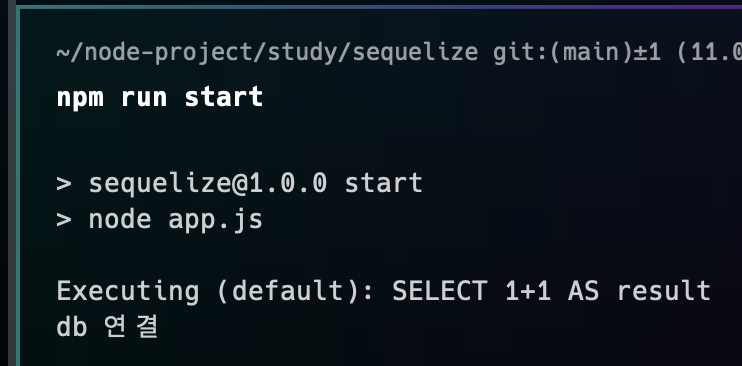
이제 테스트를 위한 기본 설정을 마쳤다.
마이그레이션 및 pgadmin 기본 사용법
npx sequelize model:generate --name User --attributes user_id:integer,user_name:string
간단하게에 유저 모델을 만들고 migration 파일을 생성한다.
User 모델에 id, name만 넣었다.
근데, created_at, updatead_at은 기본적으로 추가되니 유의하길 바란다.
npx sequelize db:migrate // DB 적용
npx sequelize db:migrate:undo // DB 적용 취소
마이그레이션 파일을 만들고 DB에 적용되는 것 까지 볼 수 있다.
postgres=# \c instagram;
이러면 instagram 이라는 데이터베이스를 선택한다.
instagram=# SELECT table_name FROM information_schema.tables WHERE table_schema = 'public';
table_name
---------------
SequelizeMeta Users (2 rows)
데이터베이스에도 적용이 된 모습이다.
pgadmin
query tool 로 sql raw 쿼리를 날릴 수 있다.
erd for database로 erd를 볼 수 있다.
유저가 만든 테이블은 Schemas/public/Tables/ 에 존재한다.
# query tool에서 사용
SELECT * FROM PG_STAT_USER_TABLES; // 사용자가 만든 테이블 조회
CRUD 테스트
"scripts": {
    "test": "echo \"Error: no test specified\" && exit 1",
    "start": "node index.js"
  },
root 디렉토리에 index.js 파일을 만들고 crud를 테스트하자.
const models = require("./models");

// 생성
models.User.create({
    user_name: "jihon"
}).then(_ => console.log("jihon is created!"));

// 조회
models.User.findAll().then(console.log);

// 단일 조회 & 데이터 수정
models.User.findOne({ where: { user_name: "jihon" }})
.then(user => {
  if (user) {
    user.update({ user_name: "lee" })
    .then(r => console.log("Name is updated!"));
  }
});

// 삭제
models.User.destroy({ where: { user_name: "lee" }})
.then(_ => console.log("lee was deleted!"));
npm run start
> sequelize@1.0.0 start
> node index.js
Executing (default): DELETE FROM "Users" WHERE "user_name" = 'lee' Executing (default): SELECT "id", "user_id", "user_name", "createdAt", "updatedAt" FROM "Users" AS "User";
Executing (default): SELECT "id", "user_id", "user_name", "createdAt", "updatedAt" FROM "Users" AS "User" WHERE "User"."user_name" = 'jihon' LIMIT 1; []
Executing (default): INSERT INTO "Users" ("id","user_name","createdAt","updatedAt") VALUES (DEFAULT,$1,$2,$3) RETURNING "id","user_id","user_name","createdAt","updatedAt";
Data was deleted!
jihon is created!
함수화하지 않고 코드를 작성해서 promise 순서가 먼저 끝난대로 micro queue 에 담기기 때문에 순서가 뒤죽박죽이 되었다.